Five ways organic social media content can still help your business

Back to the lab again…

This ramble is more squarely aimed at small businesses or individuals that sell a product or service of some kind, I guess.

simon pollock sitting in his office, guitar, computer, tied up

Social media is a fickle beast, here, have some likes, right, that’s enough likes, pay us.

That’s what it feels like for the most part, especially for an old bloke (compared to the SMM crew these days…) The numbers grew relatively quickly back in 2010, organic content actually gathered some eyeballs and a healthy amount of conversions across to your website… Now, skip forward twelve years and organic content gets you frustration and very low ROI - but there are different ways you can STILL use organic content to garner audience and community.

  1. UGC or User Generated Content - it’s the simple play of identifying good content that’s made using your product or features your product and then re-sharing that content to your platforms to help promote your followers, but also help promote your product / service. *

  2. Content that helps solve a problem for your audience, coffee’s going to be $7 a cup at your local cafe, solve that with ‘how to make coffee at home’ videos and tips if you’re selling beans or pods?

  3. UGC doesn’t just provide some great (and some awful, lets be honest) content, but the act of contacting the creator and asking to share it - in most cases - can result in a stronger connection with your community. “This brand cares enough to share my stuff…” This comes with a caveat we’ll touch on after these points..

  4. Think about more than just page posts and Instagram posts - when you’re working on content, try to remember to create for stories/reels as well (I’m a big fan of the Hootsuite always updated image sizes for social thingy)

  5. If you do ALL of the above but don’t bother checking your Facebook page’s messages, don’t bother replying to comments, don’t actually use the platform for what it was built for - to be social with your audience - you might well take points one through four, print them out, roll them up and smoke them - that’s about the amount benefit you’ll get.

Point three above - your audience may well tag you (your brand) in posts, but that doesn’t automagically give you the right to use that content however you like. I’d say around 75% of the time, someone tagging you likely expects that you might share it at some point, but it’s better if you have some sort of system in place, something to cover you if things ‘go south’ - An example, I have a note in my bio “Tag us using blah blah so we can see and share your posts” now, this likely wouldn’t hold up in court, but it does help if issues ever arise… People create this content for themselves, we don’t own it, we merely ask to use it to help sell our products - remember that and be gracious and kind when people allow you use of their UGC content.

The flip side - trying to blackmail a brand that’s shared your post is a pretty scummy thing to do - especially if you’ve tagged them… What did you expect would happen? Why did you tag them? Slap your own face.

Time to take a deep breath, step away from your screen for a minute or two and soak in your surroundings. Here’s a picture of the old boat shed in Queenscliff to help you do that.

Leave me a comment below, follow me on Twitter or Instagram. (Instagram is more pics of my new pup, Coco, right now… sorry not sorry)

Fixing things is a new thing

Lots of broken stuff at the moment… society, the way we live, most of the opinions on the internet… I can’t fix any of those, I can only watch as those things play out.

What I can fix is some of the stuff that’s been chucked away by others, old hand tools, bikes, scooters… that sort of stuff, and in a way that helps fix me a little, too.

Finding a little space where you can pull something apart, get your hands dirty, put a little effort in and make it clean and working again… I really enjoy a quiet moment these days, avoiding the sensory overload for half hour, sitting on the verandah in the morning sun to have a coffee… that sort of thing - yeah, it’s called getting older, Simon.

I’ve made a little workbench in our house, when I can’t get to my shed (It’s outside my 5km ring of allowed adventure..) where I’ve got simple stuff like WD40, Degreaser, Wire Brushes, old rags, a couple of files, screwdrivers, a drill and a few different grits of sandpaper…

Restoring an old Mambo Kids Scooter to give to some kid that needs it

Restoring an old Mambo Kids Scooter to give to some kid that needs it

I don’t have a metal lathe or a sand blaster and I’m a bit envious of those that do, but also I’m an ‘office worker’ and not a fabrication shop owner, so it’s ok! it’s just for fun and the whole point of it is just to make some room in my head for not-screen-internet-social related stuff.

It’s good to get offline from time to time.

Restoring old worn Stanley hand planes

Restoring old worn Stanley hand planes

Just making old stuff ‘new’ again is a good pass-time passtime? however it’s written. I have a couple of hand planes in the wings, waiting to get their turn on the bench and then I’m not sure what will come next… Need to build out the tools required for this stuff, but slowly slowly.

Leave a comment, do you love your online life?

Frio Photo Back to Life

The team behind Tethertools have re-released Frio. You might remember Frio from many moons ago when Zeke at NicePhotoMag.com made that fun review ad thing? Let me refresh your memory…

So, yes, back and I’m quite fortunate to have had the set to play with for some time now. The long and the short is Frio Photo has released a set of accessories that allow you to affix your flash / LED Panel / Audio gear (Mics) …actually, anything with a 1/4” 20 thread (or 5/8 via adaptors, or anything with a bit of MacGuyvery) to pretty much anything!

As wll as the original Frio (now called Hold) there’s a whole range, a couple of solid little clamps, a suction cup named Frio Cling, an articulating 1/4 20 gizmo called ‘Arch’ that you can mount on the clamps or a light stand or a tripod plate and a c-stand/arm version called ‘Stand’… anyways, you get it - these things are super handy and you need a kit of them in your camera bag - They’re like a “get out of lighting jail free” card that you can play when you need to.

That’s Frio Grasp Mini (There’s a Bigi version as well… as in …but not to be confused with the Notorious B.I.G)

I love this kit and they permanently live in my camera bag. They’re currently shipping to distributors and dealers around the globe, but you can get them directly from the FrioPhoto website for now.

In the immortal words of Jared Polin…. SEEYA

Disclaimer: I’m Frio’s social media manager, but here’s the thing, I’m thankfully only the social media manager for brands I believe in and love and actually use… so it’s a pretty good bet I genuinely love and use this stuff and the links aren’t monetised and, as always, you have to make up your own minds - will this stuff suit my workflow? will it benefit me and help me make more revenue because my lighting game is on-point… who knows, try it out.

What to Look for in a Photo-Editing Laptop?

I’m on a constant journey to find the right photo-editing setup for when I’m out of the office, I typically run a Macbook pro, but there’s no reason to not keep your options open these days! Have a read, see what you think! — S

1.jpeg

A big part of producing great photos is post-processing. This is why aside from your trusted camera and other photography equipment, an equally capable laptop for editing is needed. After all, photo manipulation software like Adobe Photoshop and Aurora HDR needs a number of hardware requirements such as 16 GB of RAM to function smoothly. But this begs the question: what constitutes a great laptop for photo editing?

Hardware specs

Whenever you choose a new laptop, you need to look at three specs: the CPU or processor, the GPU or graphics card, as well as its RAM capacity. These will determine the types of editing software that can run on your hardware and how fast they can run. Try to prioritise the CPU and RAM, as they determine how many images you can open at once. A laptop with an i7 CPU and 16 GB of RAM is ideal, but you can meet the minimum photo-editing specs with an i5 CPU (16 GB of RAM is non-negotiable if you want to run programs simultaneously).

Meanwhile, the GPU is responsible for rendering your graphics on your laptop’s display. Fortunately, it doesn’t tax the GPU to load 2D images, so you can get away with quality budget GPUs like the new AMD RX 6700 XT.

2.jpeg

Your chosen laptop’s motherboard is also important. This is your laptop’s “hub” or the component that allows all the other parts of the computer to communicate with each other. It’s a special type of PCB or printed circuit board with an expandable system due to the heavy system requirements the laptop needs to run. Every PCB has unique net clearance rules, such as energy limits, which it needs to follow to prevent the board from short-circuiting. If any activity on your computer goes beyond the threshold, the motherboard will experience a power surge, which will damage its systems and slow down your laptop forever.

Photo editing is such a hardware extensive activity, so your laptop should have a motherboard that can handle the power of your other components. Laptops that can support at least an 8th gen CPU such as the MacBook Air, Dell Inspiron 13-735 and the HP Pavilion DV7-2000 contain these powerful motherboards.

Macbook vs. Windows

It’s difficult to say whether a Macbook or Windows laptop is better for your specific needs. Ultimately, the answer is dependent on several factors such as the software that you use and your budget. Apple products naturally have a more accurate colour display, for example. This is because of integrated display technologies such as Super Retina, Mini LED, and OLED technology, which grants Macbooks that incredibly high contrast ratio and resolution. On the other hand, Windows laptops are cheaper and are more compatible with editing programs on the market. So if you’re using specialised software like PhotoDiva, you’re looking at a Windows laptop.

While there are minimum specs to follow, the perfect photo editing laptop for you is entirely based on your preferences and needs. Are you on a tight budget? Is the laptop going to be used for things other than post-processing? Consider the specs that you need, do your research, and arrive at your own decision.

For more photography gear guides, take a look at some of the other posts on our blog.

A bar for your deck?

My brother called me up and asked if I’d be interested in having a crack at building out a small railing on his rental property’s deck, of course, I was up for the challenge! I grabbed my tools and headed to Coburg - remember the days when we could just grab our stuff and go somewhere! Don’t worry, we’ll get back to good, soon.

This was the space I had to fill!

This is where the bar will go!

This is where the bar will go!

Originally, we were going to put up a stainless steel wire balustrade kind of arrangement, but then, overnight, it went to some sort of solid topped deal, and then, by the time I’d arrived it was “Maybe we should put in some sort of bar/top that people can rest a bowl of nuts and a glass of wine on?”

First I measured up the area and worked out how best to build our bar/balustrade, keeping in mind that if you build a railing on a deck more than 1mtr off the ground, you may need a permit. This deck being less than 1 meter doesn’t need a railing by law or a permit to put one in, but you should always check (I may be horribly wrong!)

It kinda has to fit in with this random thing!

It kinda has to fit in with this random thing!

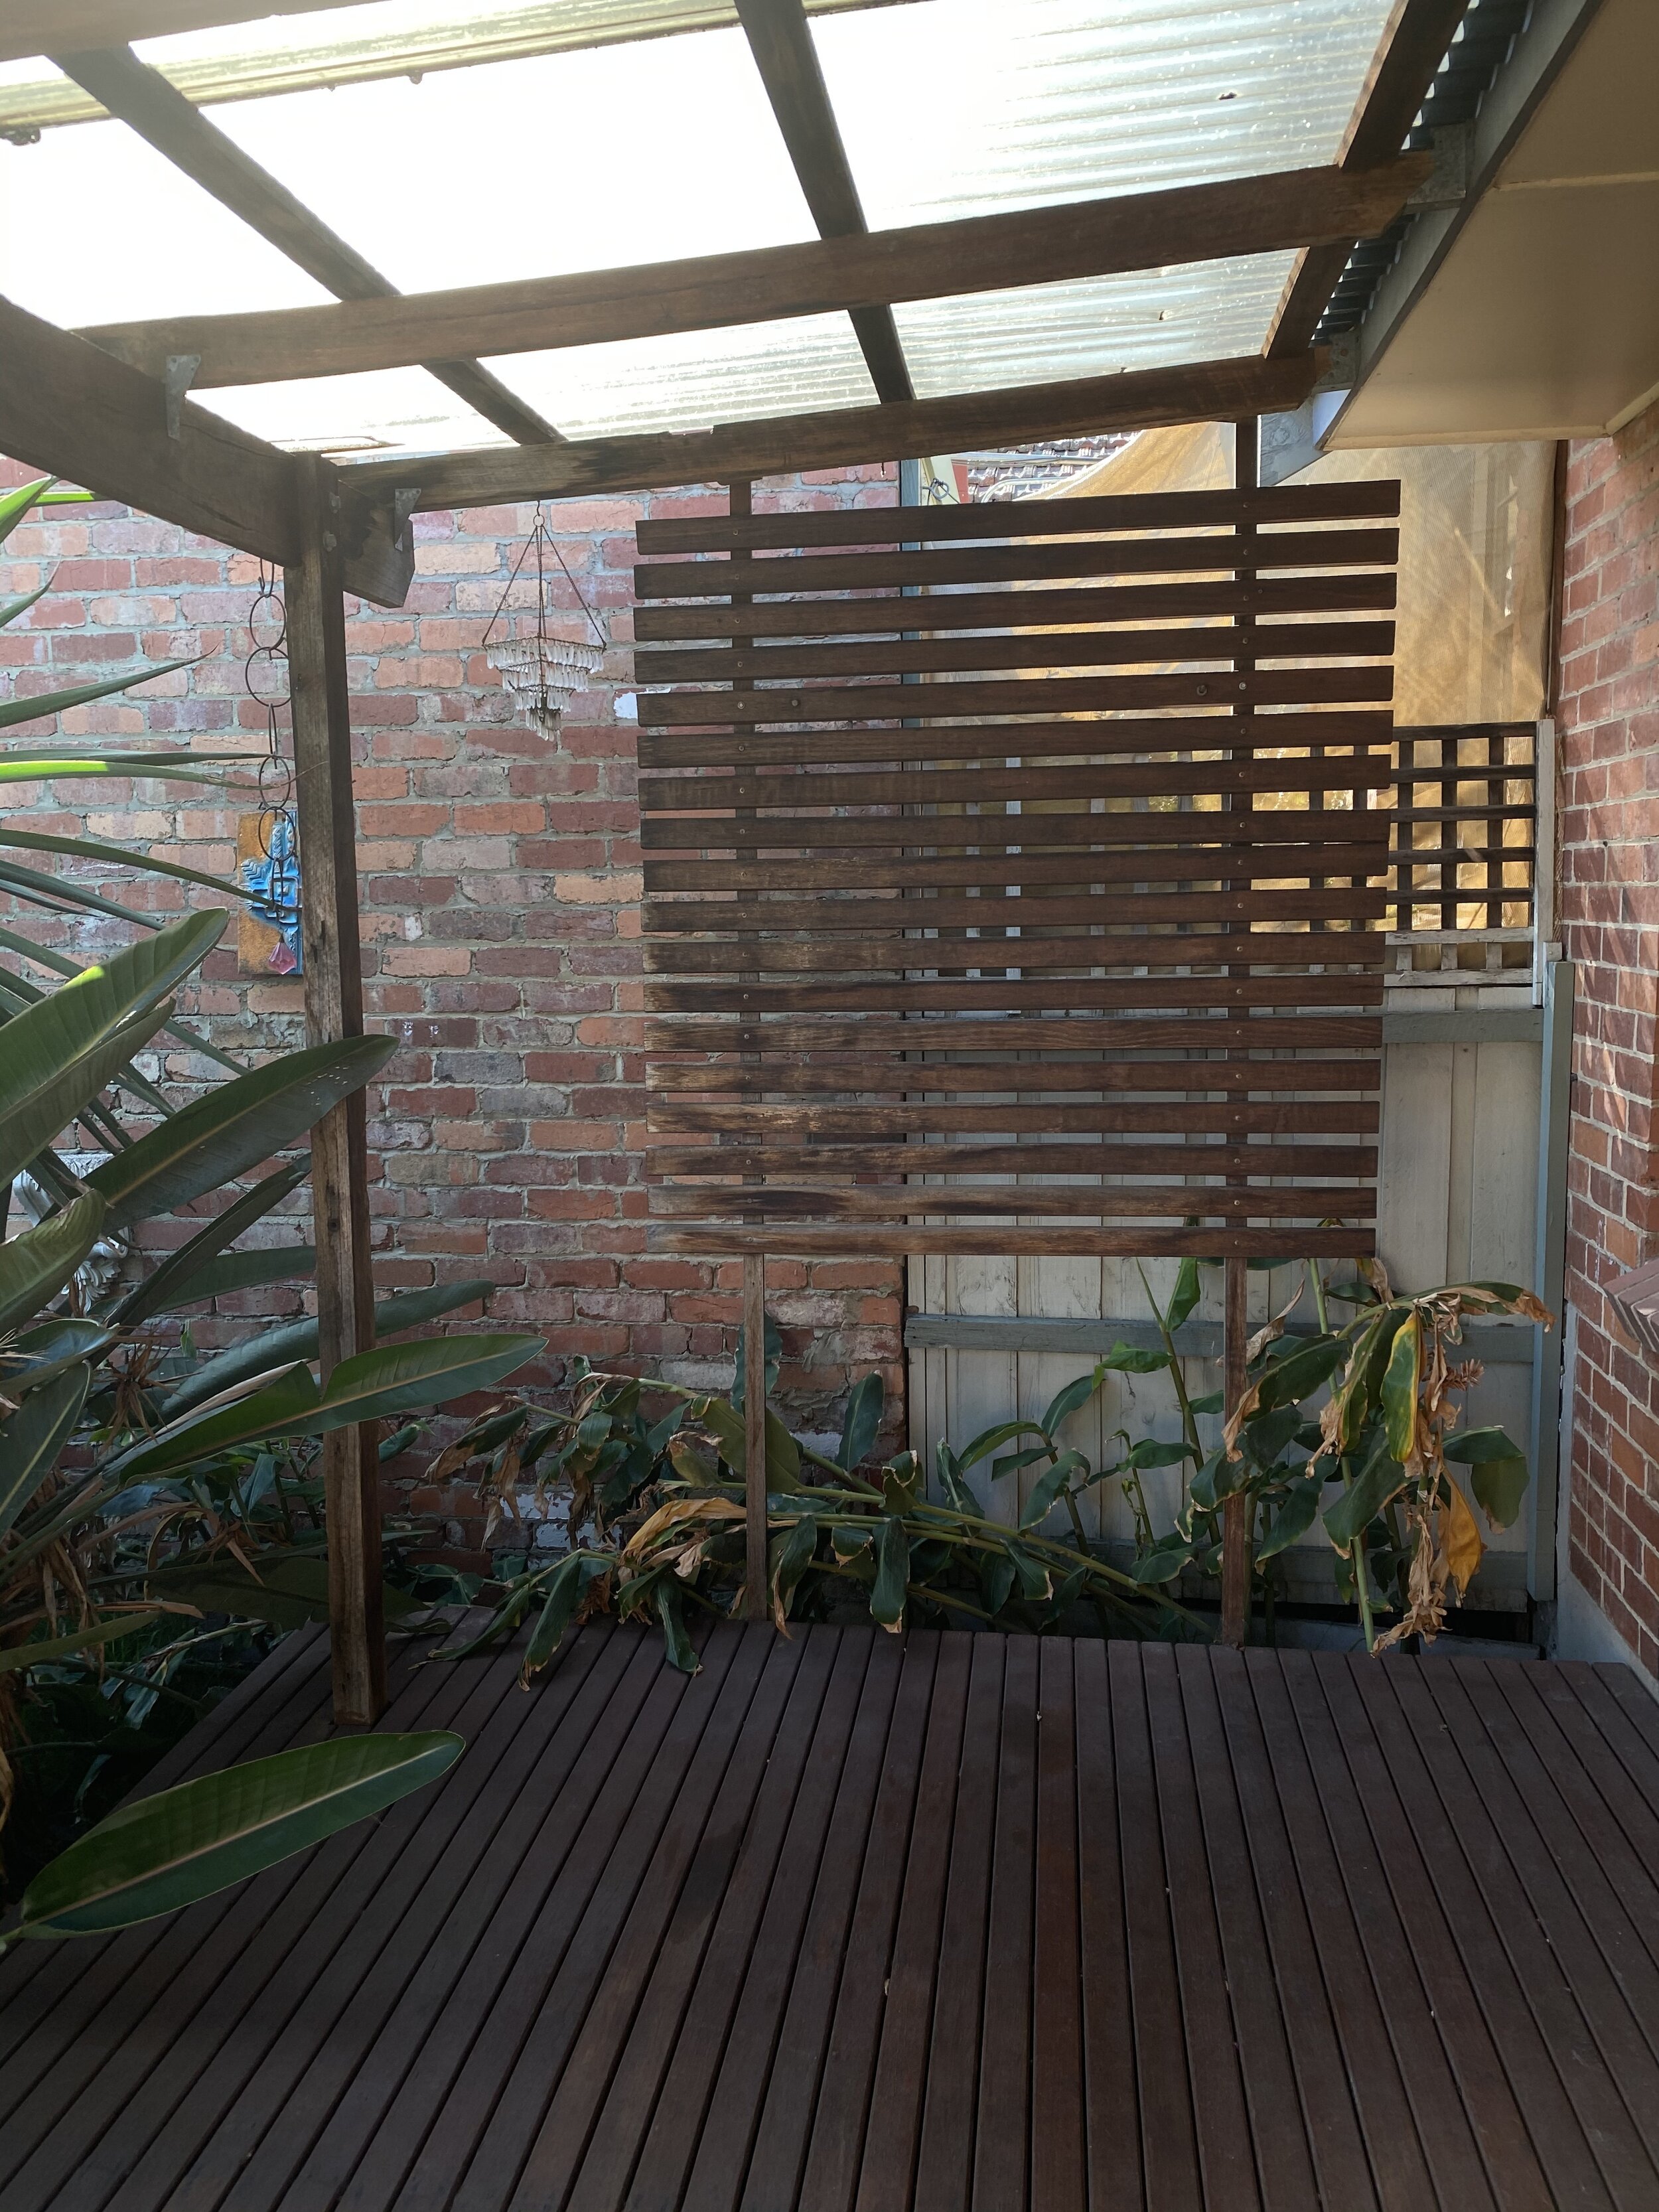
There is this randomly placed privacy screen thing on the end of the deck, and so we wanted the feel of the deck, bar and screen to contrast but not to the point that people walk out with their Sunday afternoon Martini and are horrified!

We picked up some DAR (Dressed all round, so kinda smooth finished) hardwood, in this case, it was Tasmanian Oak, from Bunnings… With more notice, I would maybe have liked to get the timber from a smaller independent place. Maybe something a bit more unique, but whatever - this would do nicely! We also grabbed screws and some coach bolts to bolt down the centre bracing.

I decided the easiest way to brace such a heavy bit of timber would be to over-engineer both ends against the old, potentially very wobbly posts and to add in middle support that went down through the deck and bolted to the bearers beneath the existing deck (big old hardwood things, perfect!)

IMG_2028.jpeg

You can see on the right there, the existing posts had some minor issues, which brought me to thinking it was best to reinforce them, you know… people after a couple of beers leaning on a bit of timber, I didn’t want a call from my brother in the middle of the night “my tenants have just destroyed the house!” (which could still happen, but…) anyways, I used two other pieces of Tassie Oak bolted onto the outer posts as you can see in the photo below. You can also see the middle support that I’ve cut through the deck to fit snuggly and bolt to the supports below, at the top I’ve used pocket holes to secure the top down to the middle support. That middle post was actually two equal length 2x4” pieces of timber that I cut and glued/screwed back to back as Bunnings didn’t have a suitable square post. You can call me MacGuyver…

Water bottle, The Twins (Bosch Drill/Screw) Sola level and some clamps.

Water bottle, The Twins (Bosch Drill/Screw) Sola level and some clamps.

You can also see in the image above, the end pieces of the balustrade are already in-place as I drilled and threaded those through the new end support pieces that I put in, that way I didn’t need to make allowance to drill them through the entire existing and the new post, also means that the outside edge doesn’t have unnecessary holes in it - go me!

After drilling and screwing pocket holes to the top of the bar at both the middle support and on both ends, I used a string line to mark out and drill the stainless steel wires through the middle post and connected them up.

Ready to string the bar!

Ready to string the bar!

And the final product, below! it’s also easier for you to see in the image below that I cut recesses in both ends of the bar that fight tightly around the existing verandah posts, this just helped to keep the whole structure tight and in place.

The finished product, sans a coat of wax

The finished product, sans a coat of wax

Tools Used

  • Bosch Blue 18v Drill

  • Bosch Blue 18v Driver

  • Bosch Blue 240v Jigsaw

  • Sola ‘Big’ Level

  • SpeedSquare and a Tape Measure

  • Stanley Hammer

  • Stanley Chisel set (which now needs a good sharpening!)

  • roll of string and some pencils

  • shifter for tightening the wire balustrade

  • decent wire cutters for cutting the balustrade kit to length

  • water + coffee