My brother called me up and asked if I’d be interested in having a crack at building out a small railing on his rental property’s deck, of course, I was up for the challenge! I grabbed my tools and headed to Coburg - remember the days when we could just grab our stuff and go somewhere! Don’t worry, we’ll get back to good, soon.
This was the space I had to fill!
This is where the bar will go!
Originally, we were going to put up a stainless steel wire balustrade kind of arrangement, but then, overnight, it went to some sort of solid topped deal, and then, by the time I’d arrived it was “Maybe we should put in some sort of bar/top that people can rest a bowl of nuts and a glass of wine on?”
First I measured up the area and worked out how best to build our bar/balustrade, keeping in mind that if you build a railing on a deck more than 1mtr off the ground, you may need a permit. This deck being less than 1 meter doesn’t need a railing by law or a permit to put one in, but you should always check (I may be horribly wrong!)
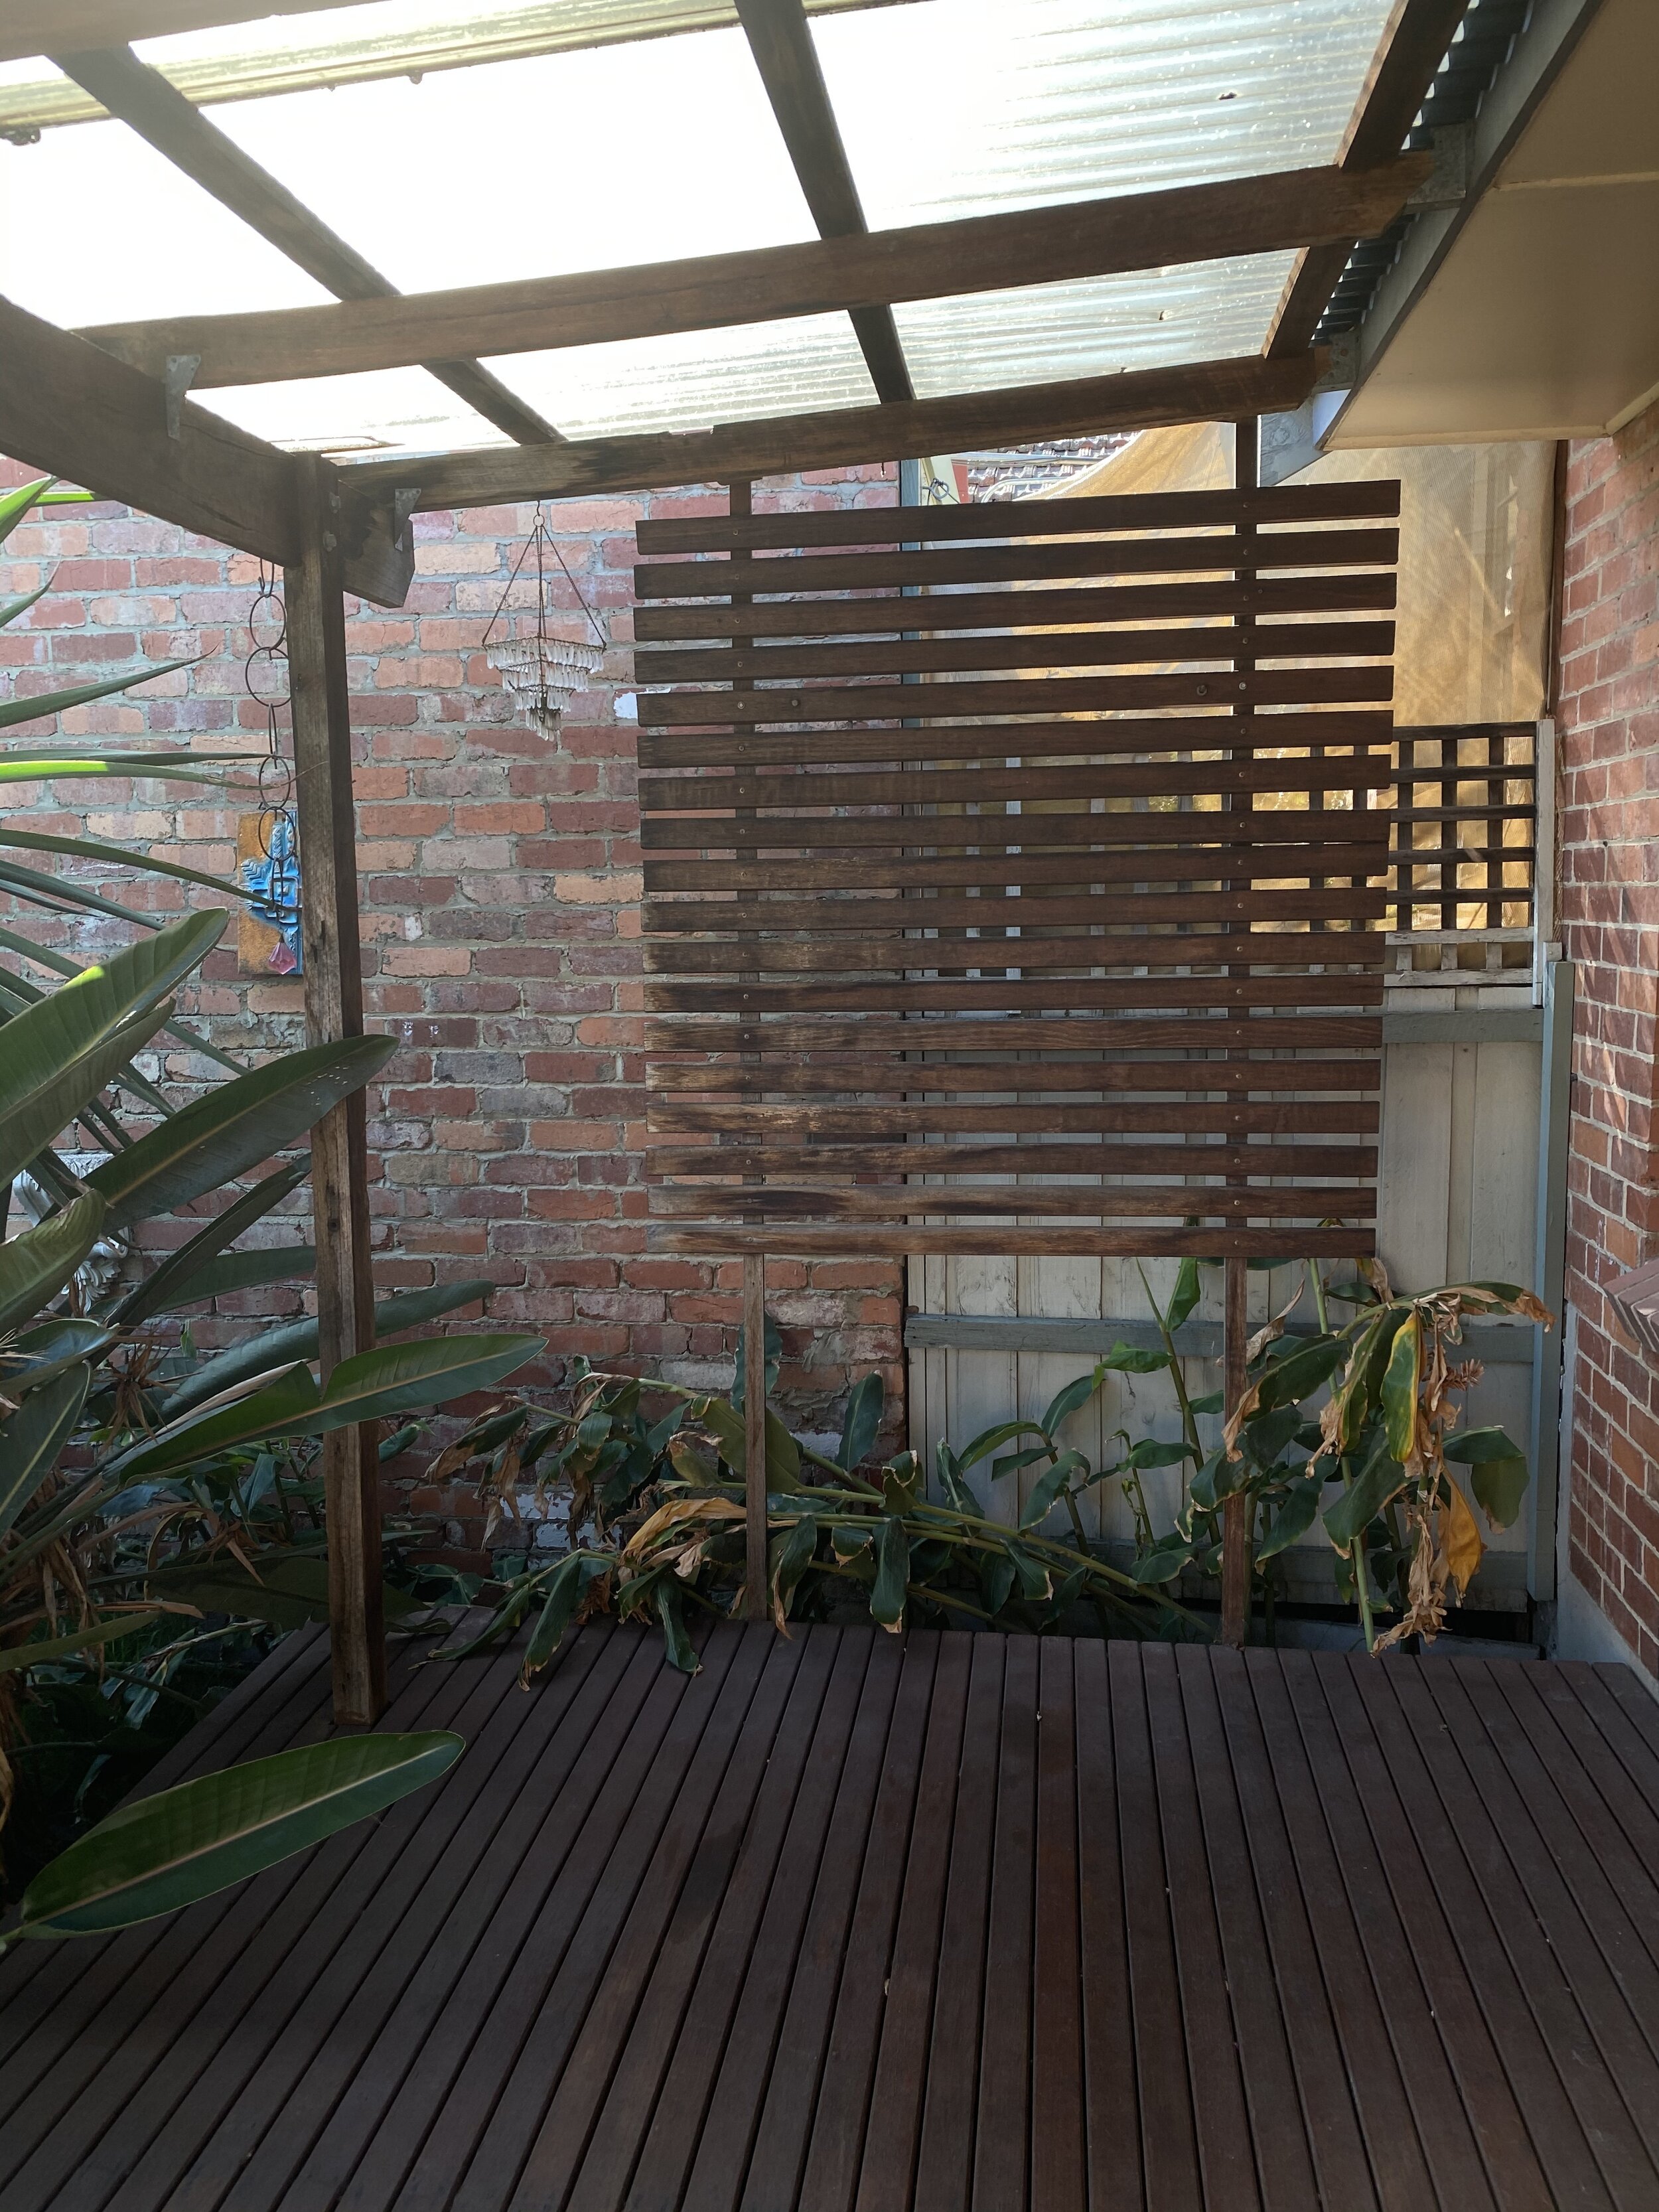
It kinda has to fit in with this random thing!
There is this randomly placed privacy screen thing on the end of the deck, and so we wanted the feel of the deck, bar and screen to contrast but not to the point that people walk out with their Sunday afternoon Martini and are horrified!
We picked up some DAR (Dressed all round, so kinda smooth finished) hardwood, in this case, it was Tasmanian Oak, from Bunnings… With more notice, I would maybe have liked to get the timber from a smaller independent place. Maybe something a bit more unique, but whatever - this would do nicely! We also grabbed screws and some coach bolts to bolt down the centre bracing.
I decided the easiest way to brace such a heavy bit of timber would be to over-engineer both ends against the old, potentially very wobbly posts and to add in middle support that went down through the deck and bolted to the bearers beneath the existing deck (big old hardwood things, perfect!)
You can see on the right there, the existing posts had some minor issues, which brought me to thinking it was best to reinforce them, you know… people after a couple of beers leaning on a bit of timber, I didn’t want a call from my brother in the middle of the night “my tenants have just destroyed the house!” (which could still happen, but…) anyways, I used two other pieces of Tassie Oak bolted onto the outer posts as you can see in the photo below. You can also see the middle support that I’ve cut through the deck to fit snuggly and bolt to the supports below, at the top I’ve used pocket holes to secure the top down to the middle support. That middle post was actually two equal length 2x4” pieces of timber that I cut and glued/screwed back to back as Bunnings didn’t have a suitable square post. You can call me MacGuyver…
Water bottle, The Twins (Bosch Drill/Screw) Sola level and some clamps.
You can also see in the image above, the end pieces of the balustrade are already in-place as I drilled and threaded those through the new end support pieces that I put in, that way I didn’t need to make allowance to drill them through the entire existing and the new post, also means that the outside edge doesn’t have unnecessary holes in it - go me!
After drilling and screwing pocket holes to the top of the bar at both the middle support and on both ends, I used a string line to mark out and drill the stainless steel wires through the middle post and connected them up.
Ready to string the bar!
And the final product, below! it’s also easier for you to see in the image below that I cut recesses in both ends of the bar that fight tightly around the existing verandah posts, this just helped to keep the whole structure tight and in place.
The finished product, sans a coat of wax
Tools Used
Bosch Blue 18v Drill
Bosch Blue 18v Driver
Bosch Blue 240v Jigsaw
Sola ‘Big’ Level
SpeedSquare and a Tape Measure
Stanley Hammer
Stanley Chisel set (which now needs a good sharpening!)
roll of string and some pencils
shifter for tightening the wire balustrade
decent wire cutters for cutting the balustrade kit to length
water + coffee


